So, in Shadertoy:
iResolution.x = ~900
iResolution.y = ~500
glFragCoord.x in range of [0, 900]
glFragCoord.y in range of [0, 500]
Represents the current fragment.
Typically a vector uv is used to scale the fragment down.
uv = gl_FragCoord.xy / iResolution.xy
uv.x, uv.y in range of [0, 1]
Then, to put the coordinates in OpenGL normalized device coordinates, I've started using ndc to represent that.
ndc = (uv * 2.0) - 1.0
ndc.x, ndc.y in range of [-1, 1].
Here's a simple program I wrote to explore more GLSL:
void main(void)
{
vec2 uv = gl_FragCoord.xy / iResolution.xy;
vec2 ndc = (uv * 2.0 - 1.0);
float line = ndc.y;
float curve = cos(ndc.x);
float movement = cos(iGlobalTime + ndc.x);
float wave = line + curve * movement;
vec3 c = vec3(pow(wave, 0.2));
gl_FragColor = vec4(c, 1.0);
}
{
vec2 uv = gl_FragCoord.xy / iResolution.xy;
vec2 ndc = (uv * 2.0 - 1.0);
float line = ndc.y;
float curve = cos(ndc.x);
float movement = cos(iGlobalTime + ndc.x);
float wave = line + curve * movement;
vec3 c = vec3(pow(wave, 0.2));
gl_FragColor = vec4(c, 1.0);
}
If you comment out curve and movement, and set wave to just line, you'll get this picture:
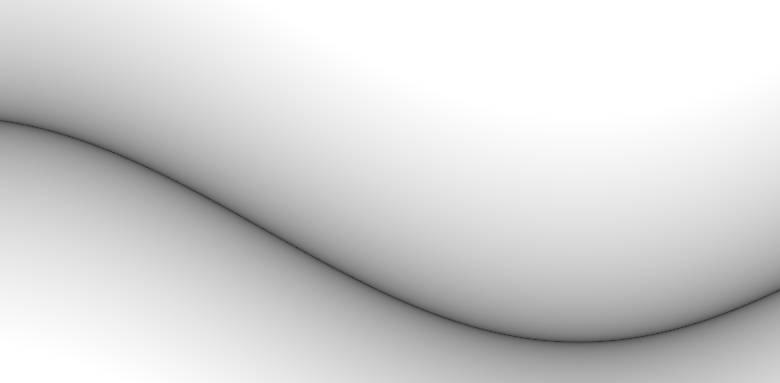
If you uncomment curve and set wave to line + curve, you'll get this:
And uncommenting movement and setting wave to line + curve + movement, it'll animate!
The first time I saw the pow function in someone elses code, I wasn't sure what it did.
It's how you get the line in the picture.
Because this is how (JUST line, no curve or movement) looks without the pow function:
But doing the pow function basically takes the positive half of the image and flips it over the horizontal axis. This is the result of applying ever smaller values of pow (0.9, 0.5, 0.1):
Which gives us the line shape.


